How to: Surface profiles
Author
charline de dorlodot
Read time
1 min read
Published
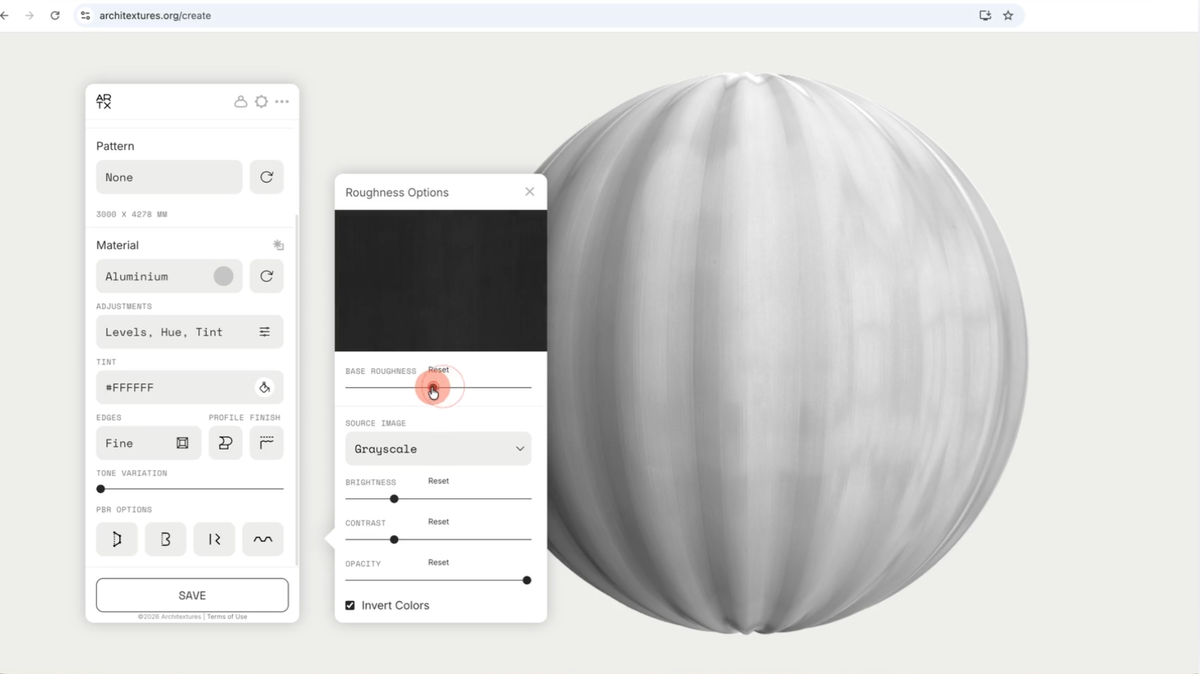
Improve the photorealism of your materials by applying surface profiles. Profiles simulate physical depth and geometry, adding detail to both 2D visual maps and 3D PBR (Physically Based Rendering) outputs.
Apply a profile
To add a surface profile to your current texture:
- Select profile: in the control panel, locate the Profile section and choose an option from the dropdown menu (e.g. corrugated, sawtooth, fluted, etc.)
- Configure frequency: under profile you will find the repetitions input field.
- Increase the value to make the profile pattern smaller and more frequent
- Decrease the value to scale the profile up for a larger, more pronounced effect.
0:00
/0:47
🏗️
Use cases:
Roofing and siding: use the corrugated profile to create metal or fiber-cement panels.
Carpentry: apply linear profiles to simulate milled timber or tongue-and-groove aesthetics.
Industrial design: use high-frequency repetition values to create non-slip surfaces or perforated metals.
Roofing and siding: use the corrugated profile to create metal or fiber-cement panels.
Carpentry: apply linear profiles to simulate milled timber or tongue-and-groove aesthetics.
Industrial design: use high-frequency repetition values to create non-slip surfaces or perforated metals.