How to: Surface finishes
Author
Architextures
Read time
1 min read
Published
Apply surface finishes to simulate specific tactile qualities and manufacturing treatments. Like profiles, finishes improve both 2D visual maps and 3D PBR data by adding granular surface to the material surface. In other words, surface finishes replicate the physical feel of a material.
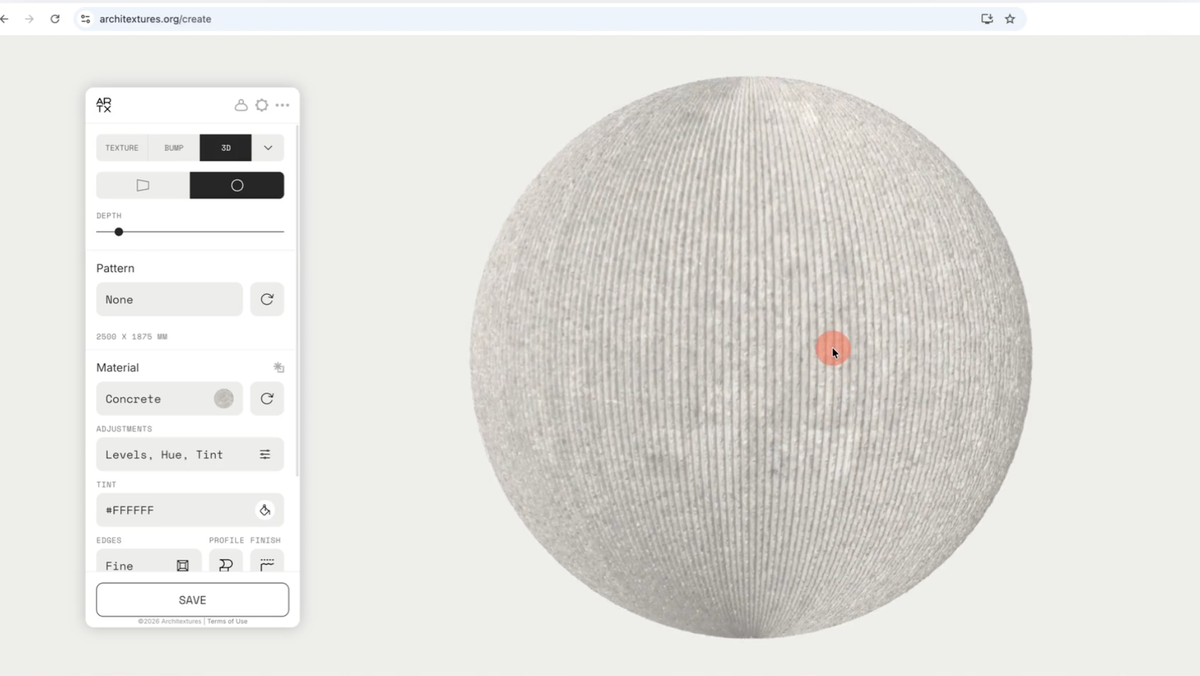
Apply a finish
- Select finish: in the editor’s control panel, locate the Finish section. Choose a treatment from the dropdown menu (e.g. weathered rock face, flamed, vermiculated, etc.)
- Adjust the scale: use the scale slider to calibrate the size of the finish.
- Lower scale: creates a finer, more subtle texture suitable for close-up renders.
- Higher scale: creates larger surface indentations that are visible from a distance.
0:00
/0:28
💡
Top tips:
PBR integration: If exporting for software like Revit, Rhino or Sketchup, the finish will automatically be included in your bump and roughness maps to ensure accurate light interaction.
Consistency: when creating a series of related materials, maintain a consistent finish scale to ensure they look uniform when placed side-by-side in a 3D scene.
PBR integration: If exporting for software like Revit, Rhino or Sketchup, the finish will automatically be included in your bump and roughness maps to ensure accurate light interaction.
Consistency: when creating a series of related materials, maintain a consistent finish scale to ensure they look uniform when placed side-by-side in a 3D scene.